Tonight we are going to look at an oldie but goodie - my PBR, well...I say mine, I guess that really isn't true anymore since I no longer have possession, but since I built it, I guess I have the right to still feature it on occasion.
I would guess that if you still want to buy one, they are still available, at least they are still on James DeSimmone's site, you can always email him and find out. I guess my point in showing it though is to encourage those of you who might already have another one of his models that with a little work, you can make it look pretty good.
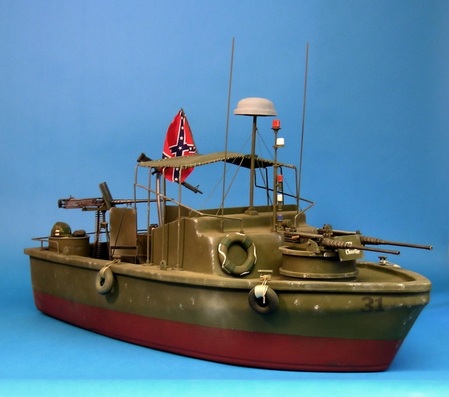
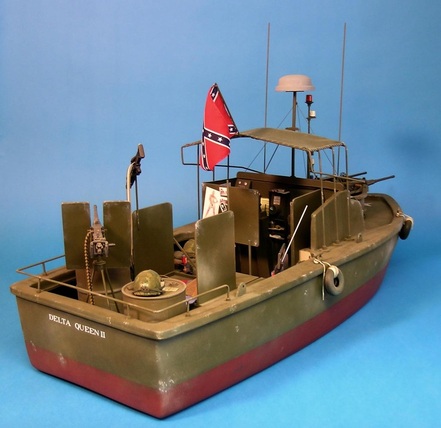
And work it did require. I pretty much kept the hull and thru everything else away. Even the hull received major modifications to make it look more like a MK II PBR. The first thing that was required however was a deck. The hull was simply that - a hull. After floating it in the bathtub to see how high it would float in water, I decided that it was going to need quite a bit more weight. The deck was cut out of a piece 3/4" presswood that I had lying around. The raised section in the aft section was created with four pieces of 2x4". Everything was then covered with thin styrene.
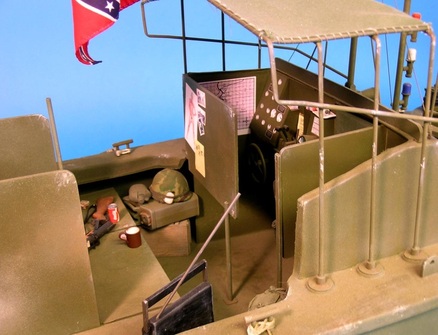
Once there was a deck, then a styrene bulkhead was added to the cabin and the various shields were added. The model is not scale width, so I had to mess with the spacing quite a bit to get what I am defending as a "close enough for government work" look; not accurate, but generally capturing the feel of a PBR.
The foredeck suffered the same problems as the rest of the vessel, it wasn't big enough and the compression was really too much for the level of detail I wanted to include. The result was more of a caricature than a scale model, but it certainly worked in photos. The foredeck had to be rebuilt with styrene and a new hole cut for the gun tub, speaking of which, that was replaced too. The front of the cabin had to be rebuilt with styrene and putty to give it more height and a more correct shape.
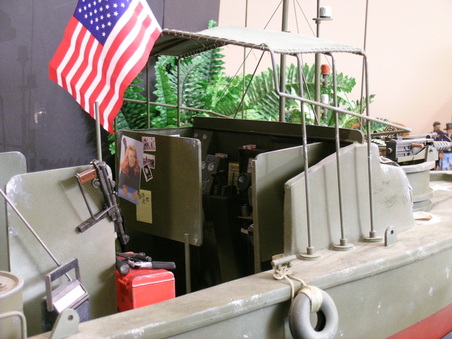
Then that support structure for the canopy and the railings all had to be built out of brass tubing. That actually didn't turn out to be as hard as I thought it would be, for which I was grateful. Painting, weathering and detailing was next and there was plenty of it.
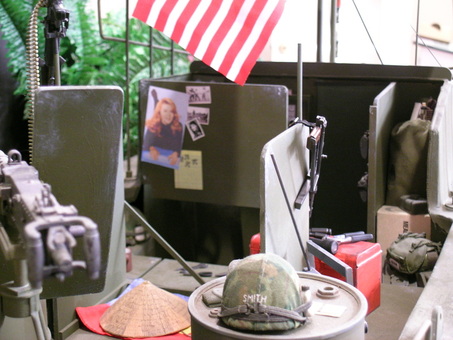
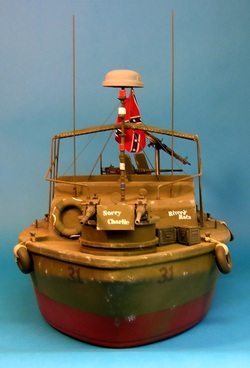
I have always gone for a cluttered look with all my vehicles, because I like that "lived in-fought in" look. In the small confines, the clutter really is intensified (it actually doesn't take as much to do the job).

Once the boat was built I had to decide how I was going to photograph it on a regular basis. I didn't live near a creek and the boat weighed about 25 lbs. I decided that I would build a water set for it instead. Out of a piece of plywood, I cut a whole the shape of the hull and lined the edges with felt, so that I wouldn't scratch my paint job up setting and removing the boat from the diorama. Then I painted the plywood with a variety of different colors and over sprays to try to build up some depth to the "Water". As you can see from the pictures, it never

really did look like water, but it was a nice foundation for Photoshopping the water into each scene. This was a fairly complicated process, building up layers of opaque images to create waves, reflections and wakes. I really never want to do it again.
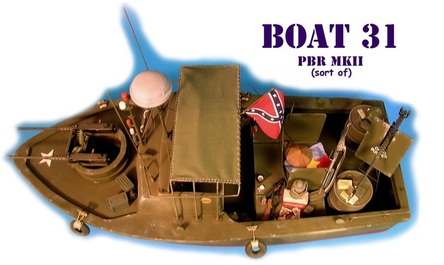
When we left Colorado to move to Ohio, I left the PBR with someone in our Joe Club. I was kind of afraid to dry and move it and I was pretty sure I wouldn't have room for it. Yes, it was under-scaled, but it was still one big model. I don't regret it too much because it really wasn't about possessing it, all of the fun was in building, photographing it and then working with the images. Now mind you, it is not a project that I recommend. It was a tremendous pain in the butt...period. You have really got to love the Vietnam era to tackle one of these babies.
Well, that is all for this week, until Sunday night, have a good one!
Well, that is all for this week, until Sunday night, have a good one!

 RSS Feed
