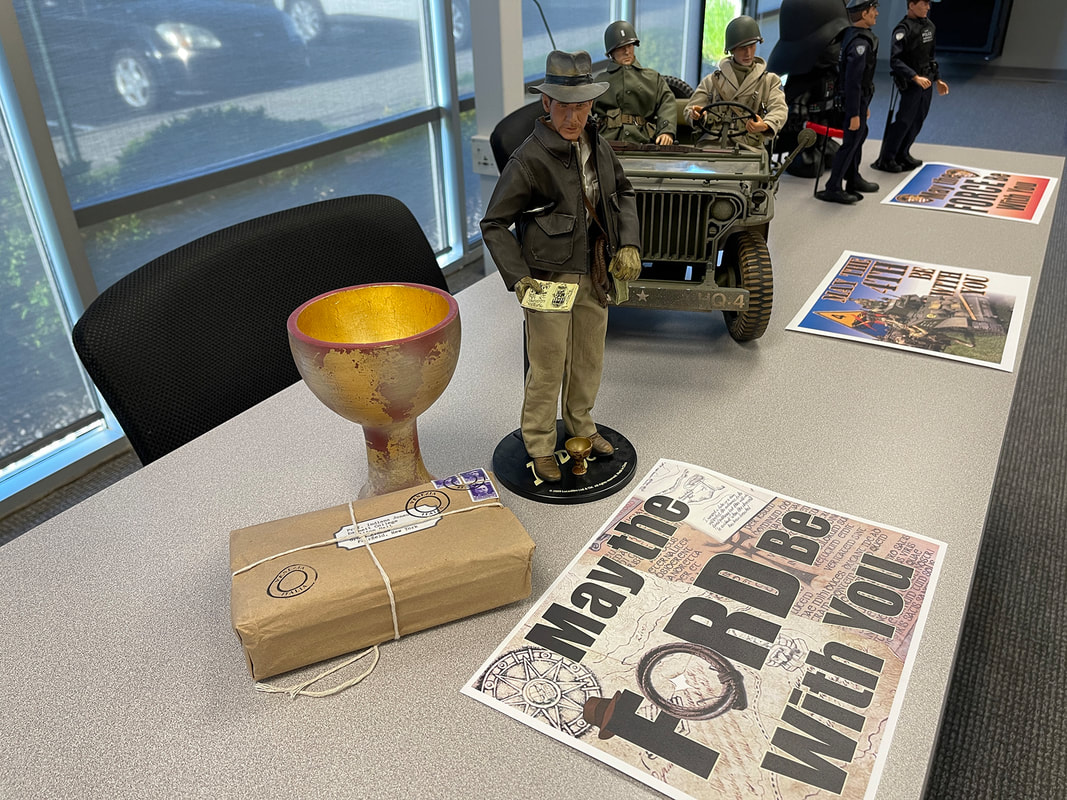
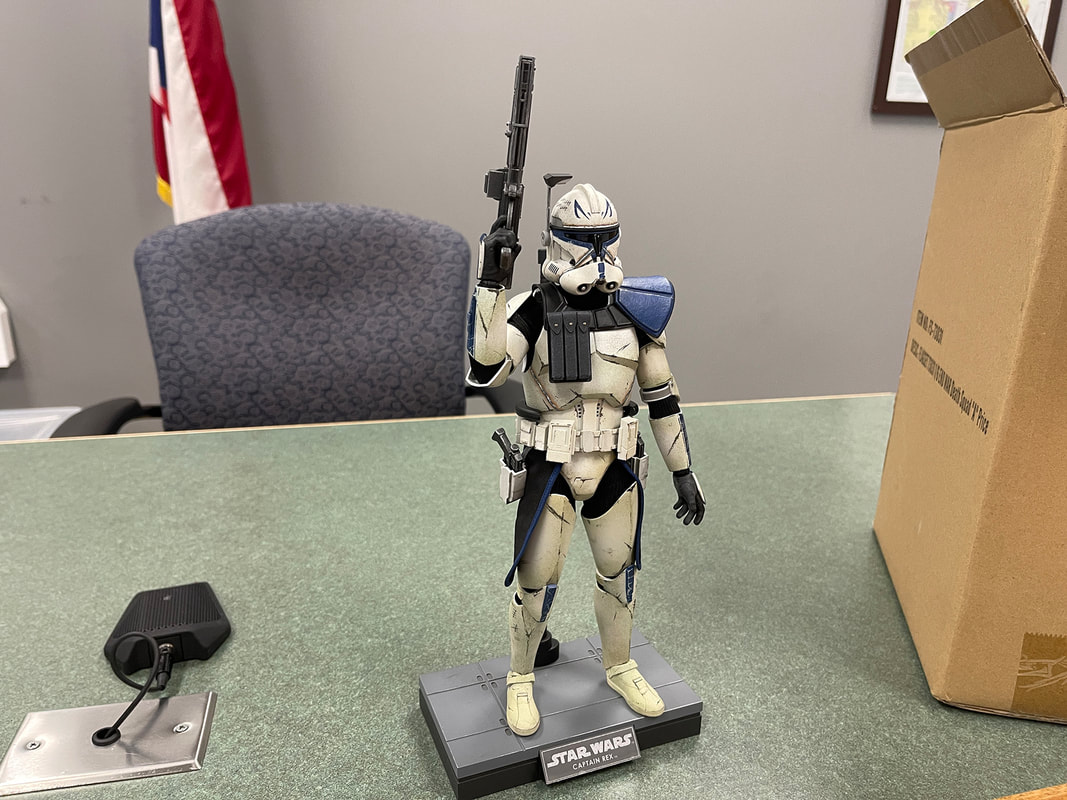
Well, it's been a while since our last meeting update. We did not have a meeting in April due to rather extreme weather conditions on meeting night. And it has taken me a while to post May's photos, but here they are. As it was MAY 4TH the theme of the meeting was Star Wars, for anyone that had Star Wars Stuff.
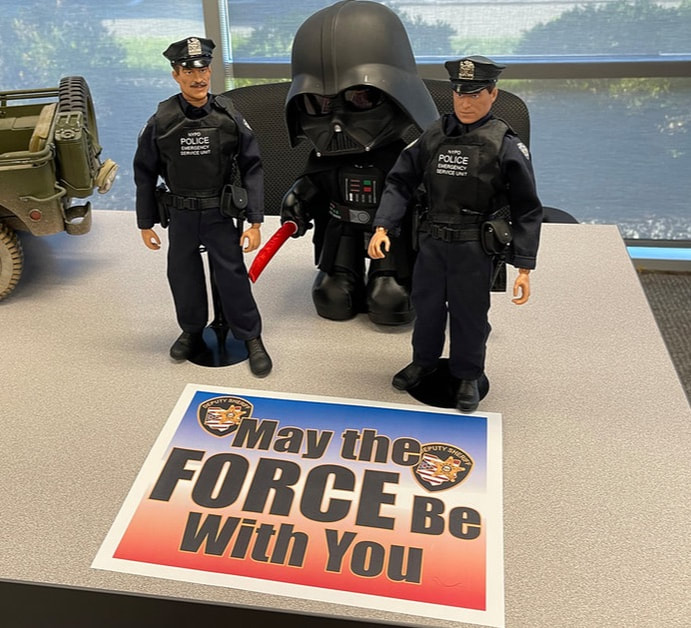
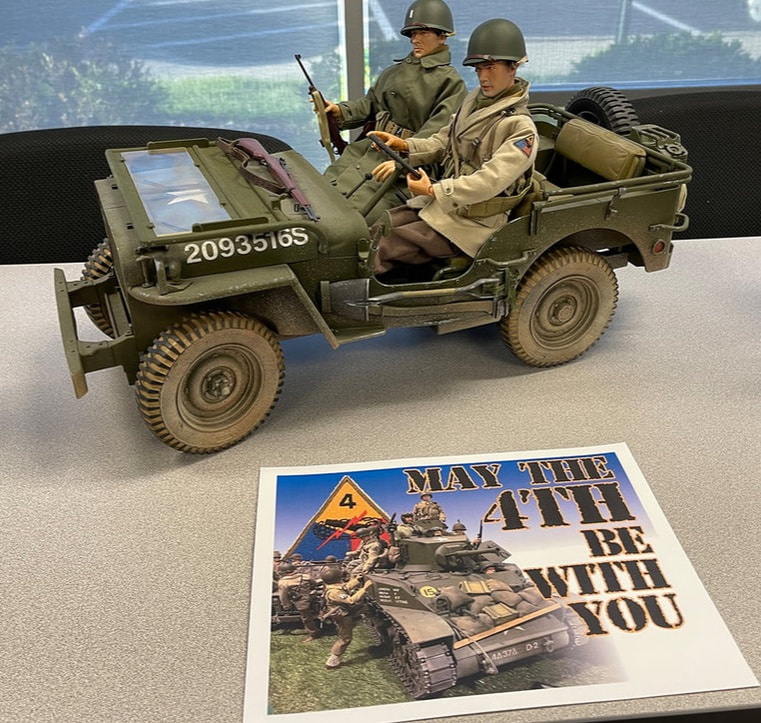
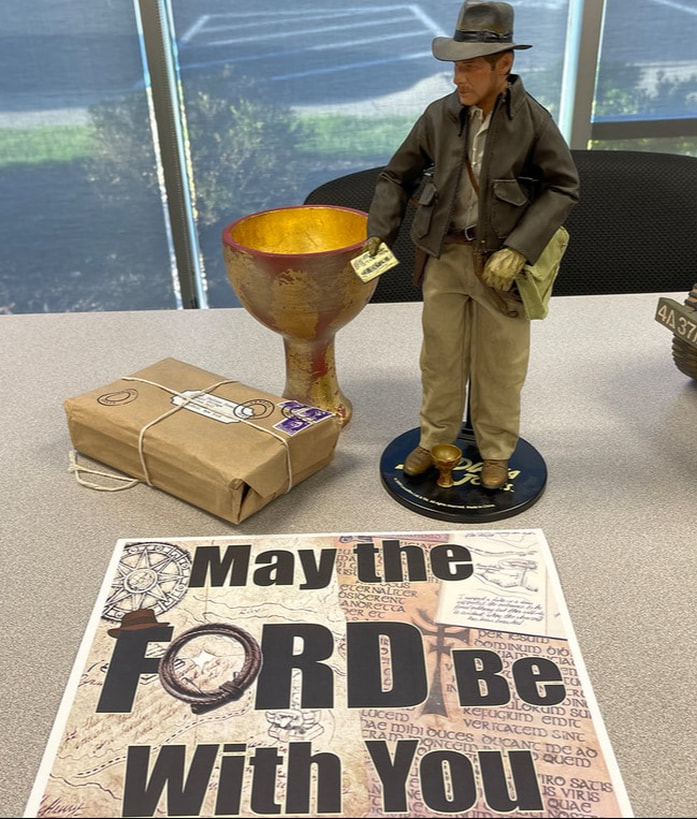
I do not own any Star Wars figures, so I decided to do a "Play" on the Theme.
I do not own any Star Wars figures, so I decided to do a "Play" on the Theme.
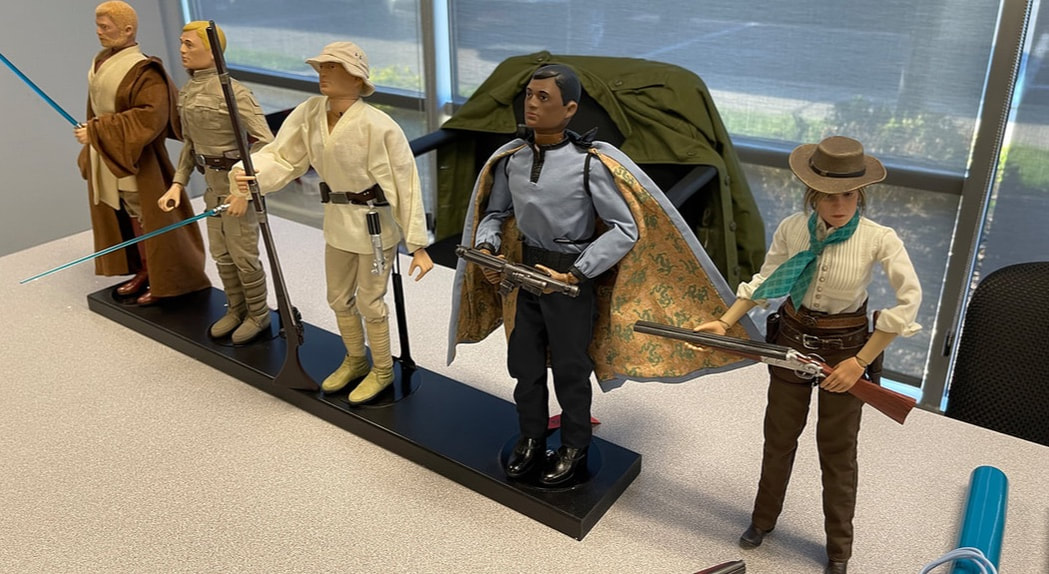
First, we have MAY THE FORCE BE WITH YOU...
Next was MAY THE 4TH (Armored) BE WITH YOU...
And Finally, MAY THE FORD BE WITH YOU...
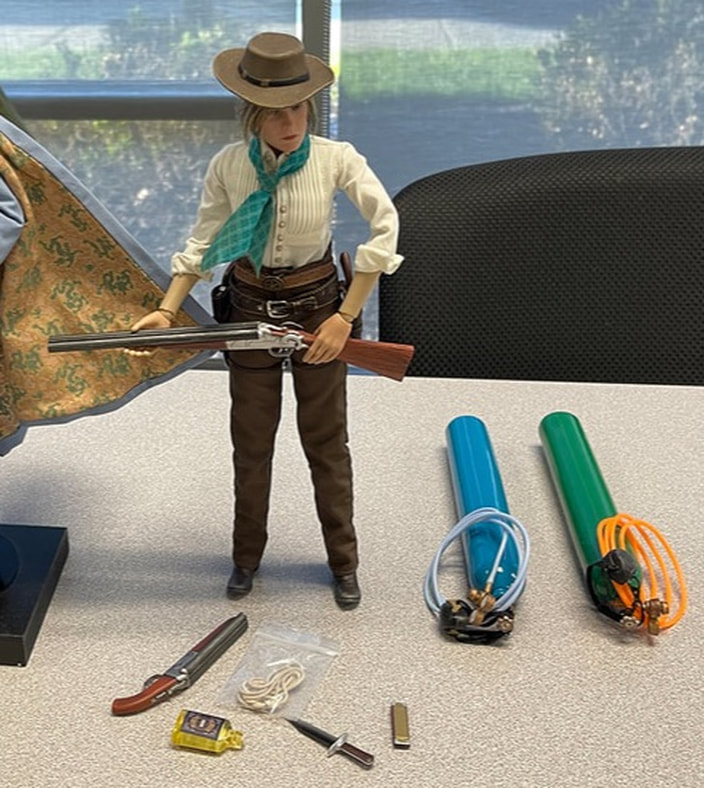
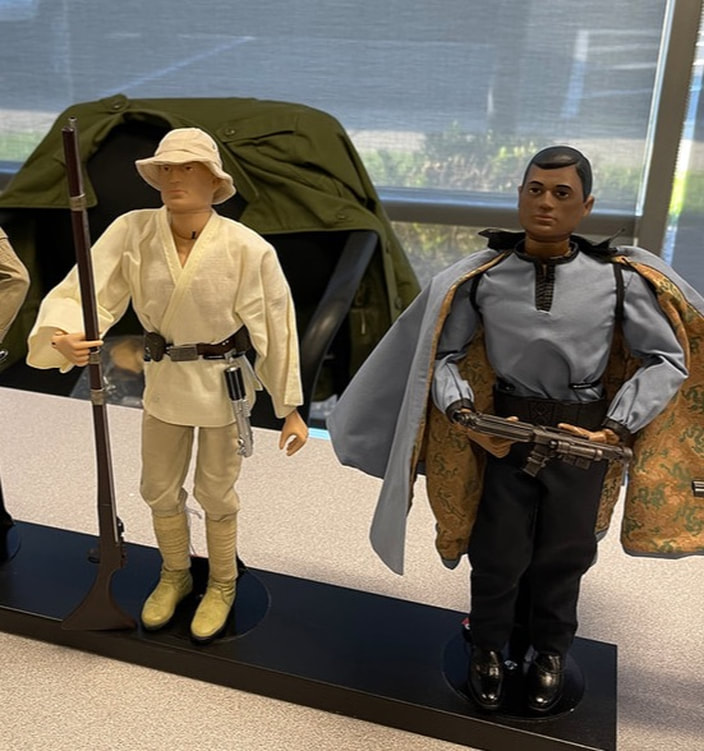
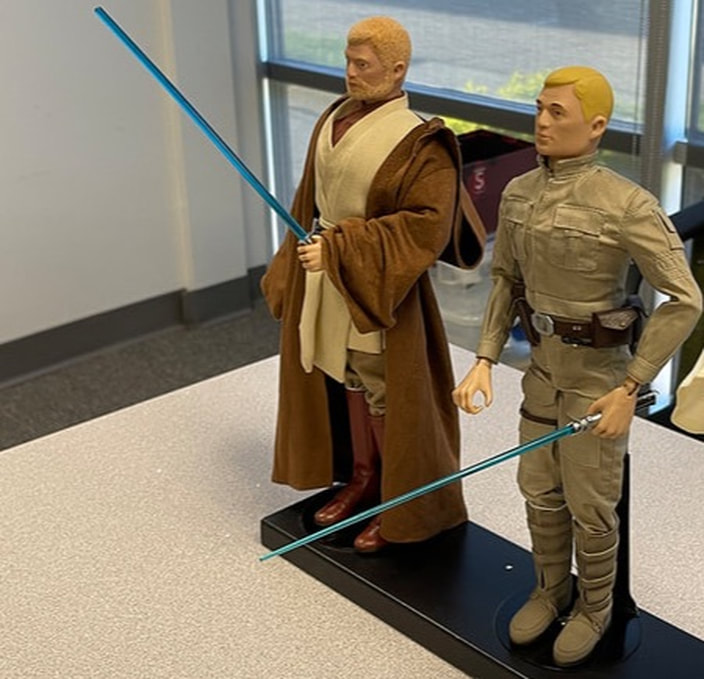
CINDY certainly did better than me, She was able to outfit four of her JOES with Star Wars themed costumes. She also brought this really cool "Cowgirl". She was working on the horse during the meeting, but I failed to get a picture of it.
Nice Accessories with this set, I particularly like the Harmonica.
Here we have Joe Skywalker and Joseph Calirssian
Here we have Joe Skywalker from the Empire Strikes Back and Joebi Wan Kenobi
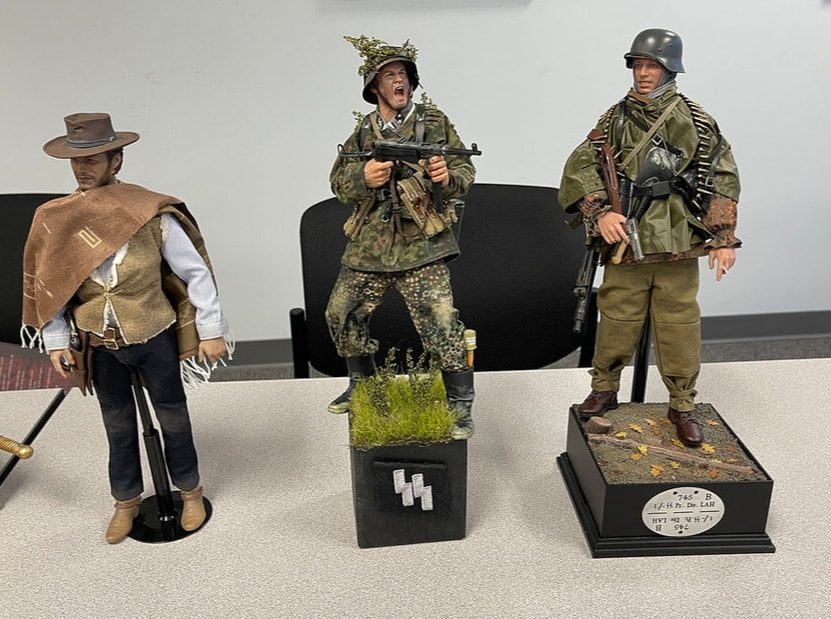
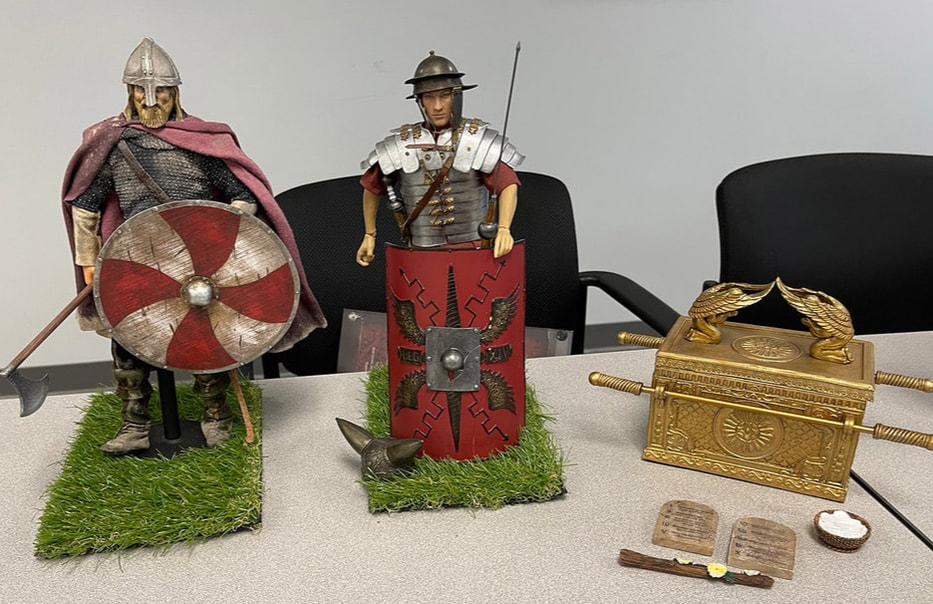
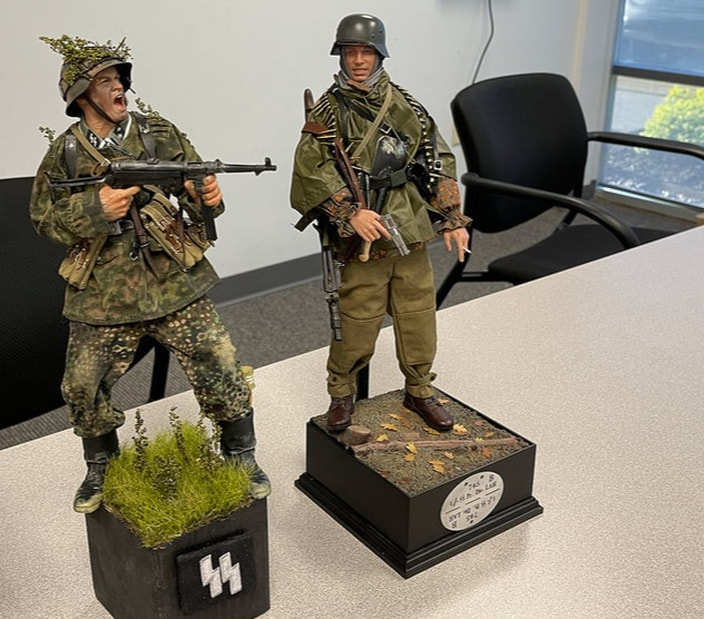
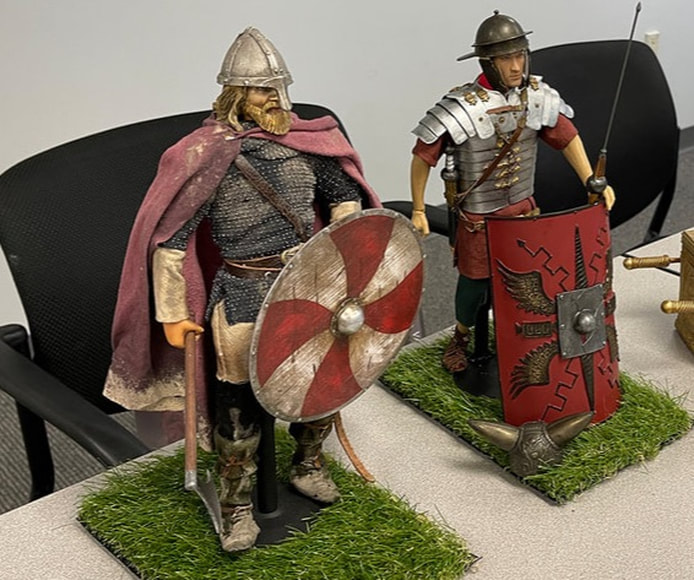
Dick didn't have any Star Wars stuff either, so he did a variety of figures which were all rather nice. Two WWII Germans, a Clint Eastwood movie figure, Roman Soldier and a Celtic warrior from the same time frame. Oh yeah.... and an Ark of the Covenant that looks like an Indiana Jones movie prop. All really nice eye candy!
I particularly liked the Celtic Warrior. The weathering on this guy is just amazing.
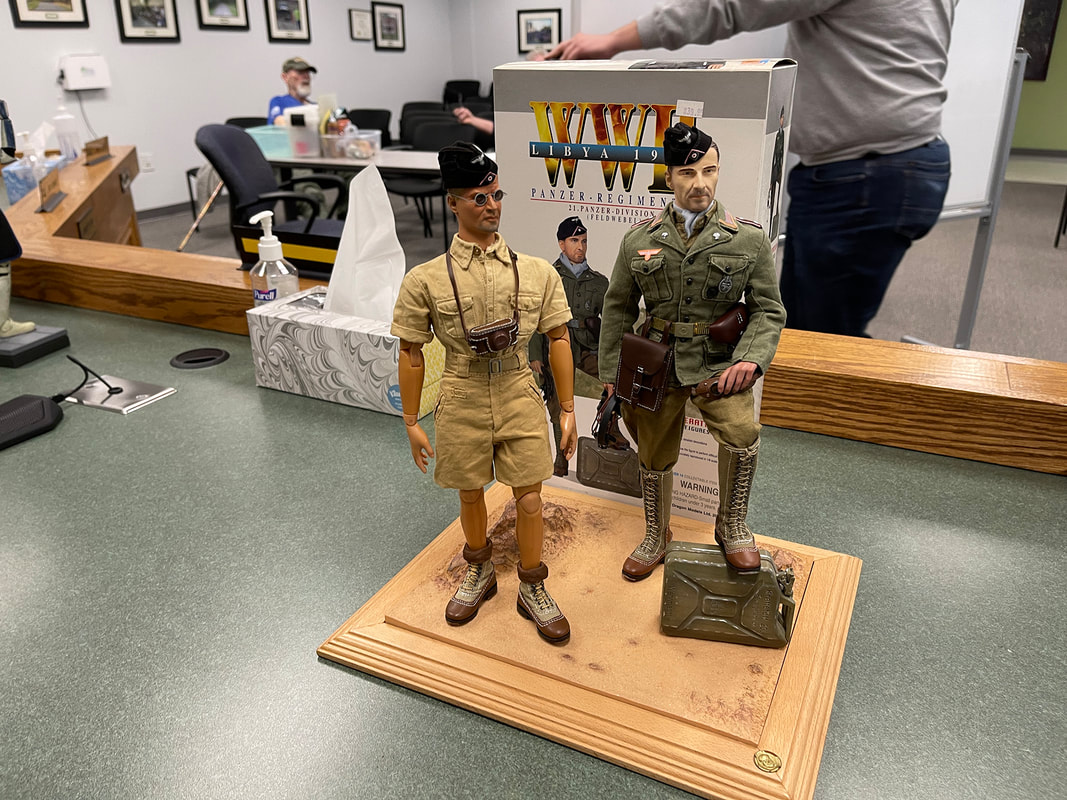
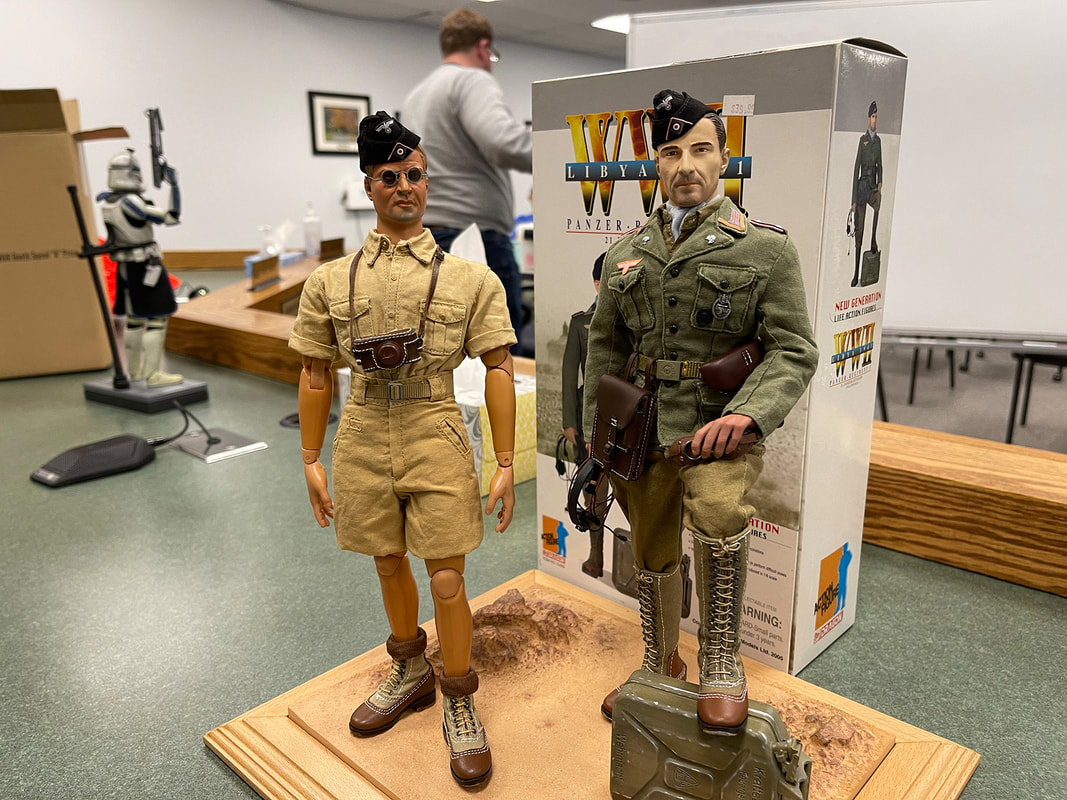
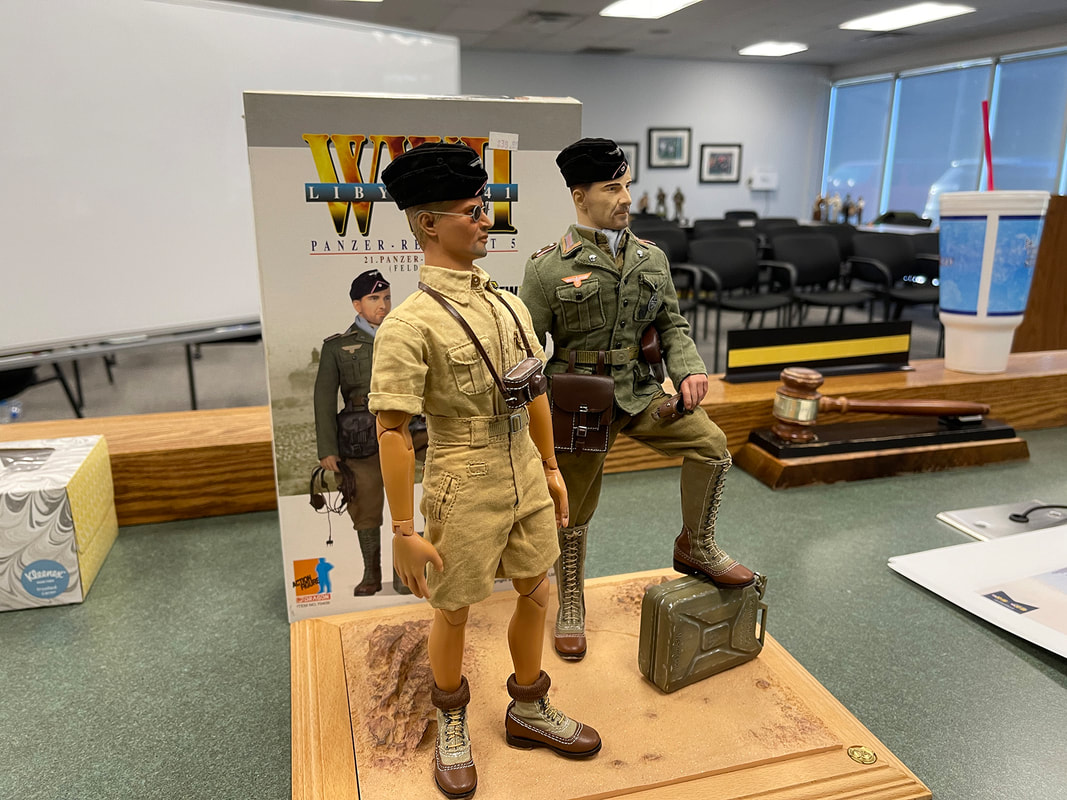
Fred has been working on Afrika Korps figures the last few months in anticipation of a club photoshoot. These are his two latest participants; very nicely done, the detail is beautiful.
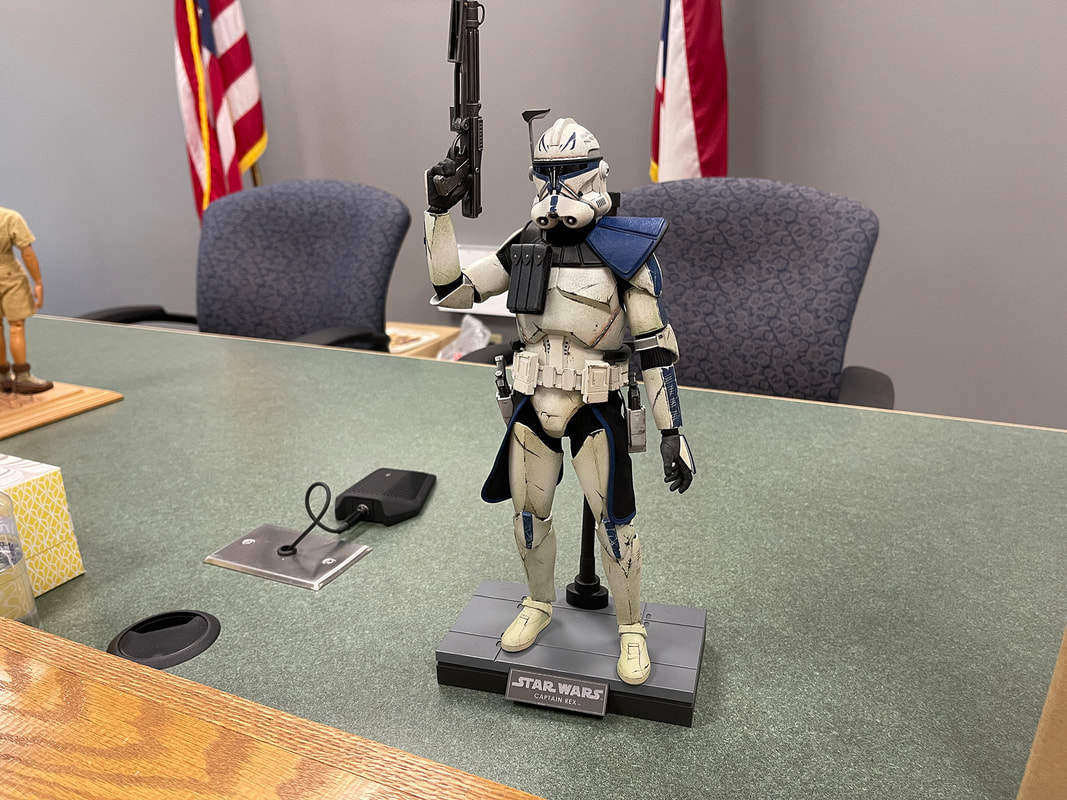
George was able to bring something for the Star Wars theme, this beautifully detailed and weathered Imperial Trooper. Makes me sort of wish that I could collect Star Wars figures. Just awesome!
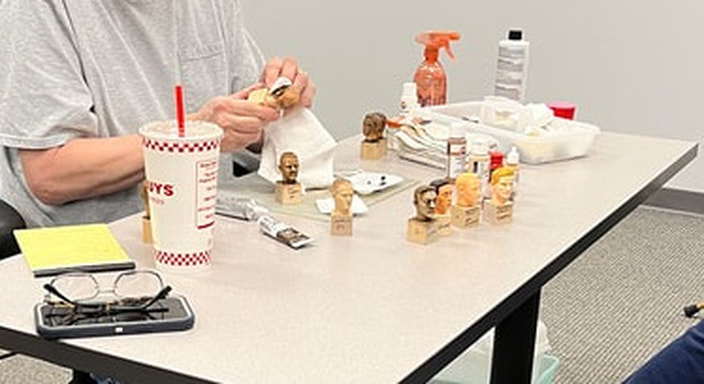
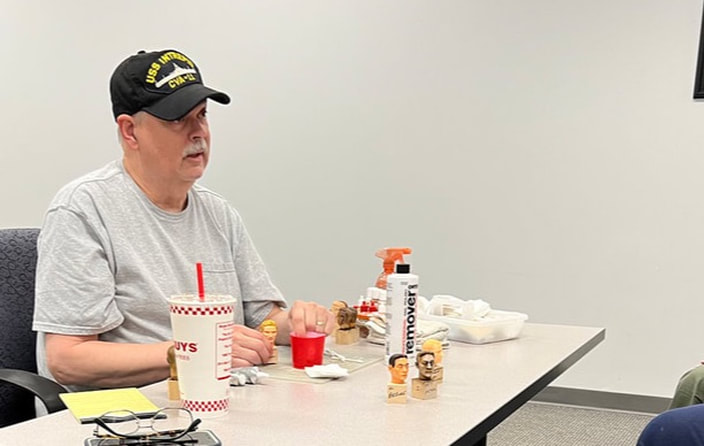
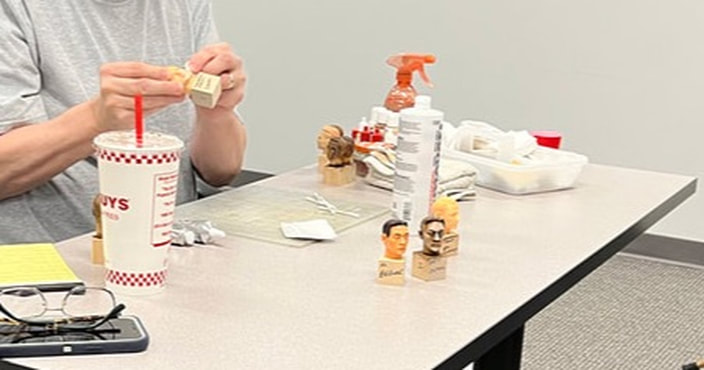
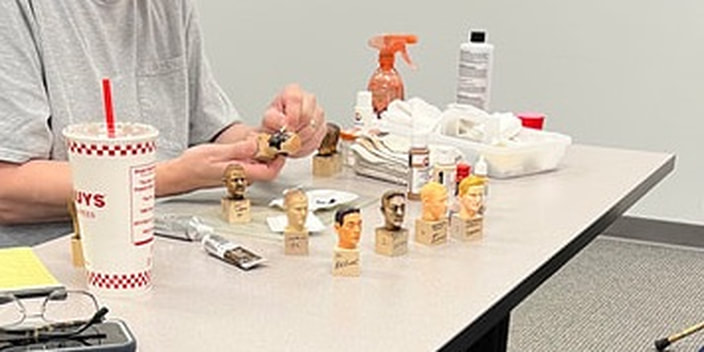
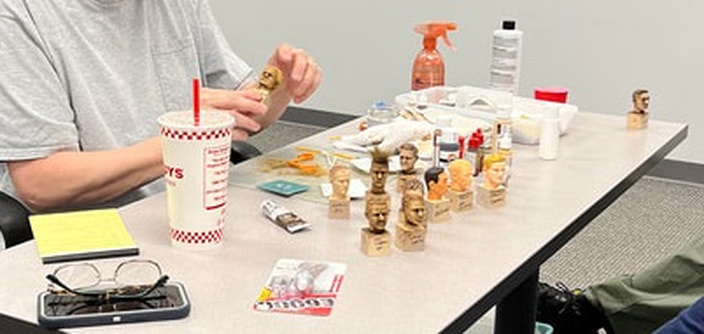
I was asked to do a tutorial on painting sculpts for the April meeting, but we never had an April meeting, so this was the last part of my contribution - MAY THE HEADS BE WITH YOU.
We talked about and demonstrated the following things;
1. Stripping paint off a sculpt.
2. Priming with a flesh tone acrylic paint
3. Add depth through use of a wash
4. Dry Brushing to add highlights
5. Eyes and lips
6. Faux Fur hair, applying and trimming
Disclaimer: As I told everyone at the meeting, I do not claim to be good at painting sculpts. I know the techniques and can demonstrate them, but quality works comes from practice and I don't enjoy the process enough to actually do that.
Dragon and DID heads can be stripped of paint with Nail Polish Remover (Acetone). The bottle on the table is the professional stuff that they use in salons and it doesn't smell as bad. Hasbro and SOW figures tend to be molded in the final skin tone and are typically not painted, other than the eyes.
Stripping old paint off with Acetone, using cotton pads and swabs
Unlike small Wargaming figures, inks and washes really do not work on 1/6th heads; it tends to run. What we are calling a wash is actually OIL PAINT (Burnt Umber is a good color to use). Spread it all over the head with a Q-Tip. After you have done this...
...Wipe most if it off with a rag. What you will be left with is a darker shade in the recessed areas of the sculpt. Oil paint dries slowly, an oil painting can sometimes take up to a year to completely dry, but you are not using that much, just give it a couple of days to dry out so that it doesn't smear, when you take on the next task of Dry Brushing the highlights.
The last thing we talked about in the demo was the use of fake hair. Starting with a bald head, or one that has been Dremel-ed bald, you then use an adhesive to apply fake fur to the areas of the head where you want hair. I usually let it dry for a few days before I do anything to it. Once it is completely dry, you can give it a haircut with a sharp pair of shears.
AND THAT"S ALL FOR MAY, thanks for looking...
