SSCC Member SCOTT CELENDER'S
FOAM WALL PROJECT
For a while now, Scott has been experimenting with 'carve-able' foam material and has made some pretty cool vignettes with his foam walls. At our last meeting he brought a two sided foam wall that he was working on and I asked him if he would share his techniques. What follows are in-process pictures of that project and information about the process that he shared with me.
Scott starts with a piece of foam insulation that can be purchased in 1" thick squares. For this particular side of the wall, he wanted to create a section of brick wall that had been exposed when the plaster covering it had been stripped away. The finished wall still has a bit of the plaster on the left side. Scott begins the process by removing foam surface where the exposed brick will be. He did that in this particular case by creating a 1/8th inch guideline on the edge of the foam and then cutting away the foam, down to that guideline, in the area that would be exposed brick. It should be mentioned that the area at the bottom of the wall that would going to be wood paneling was treated in the same way.
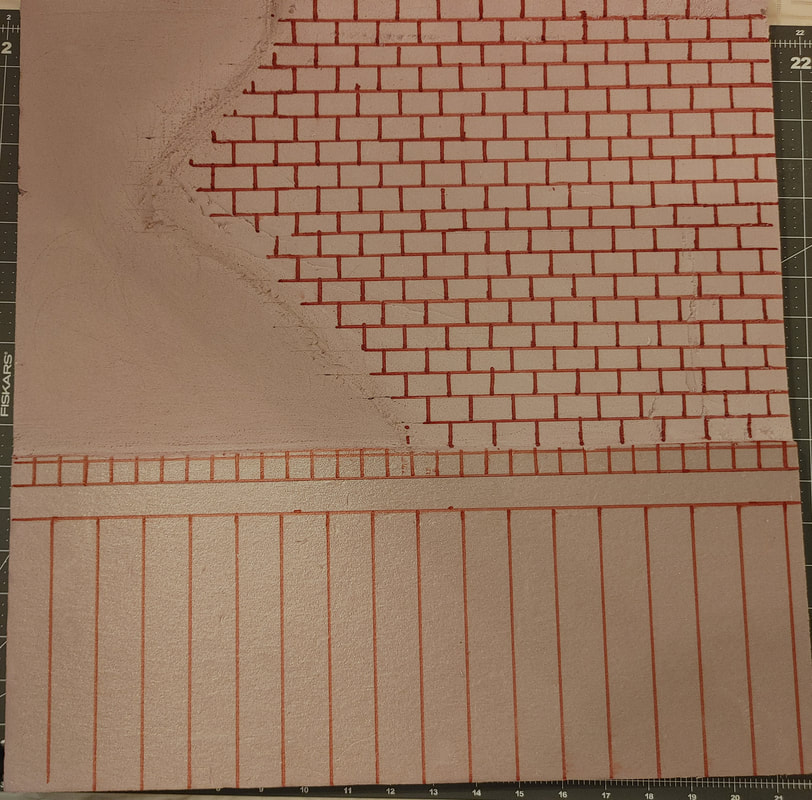
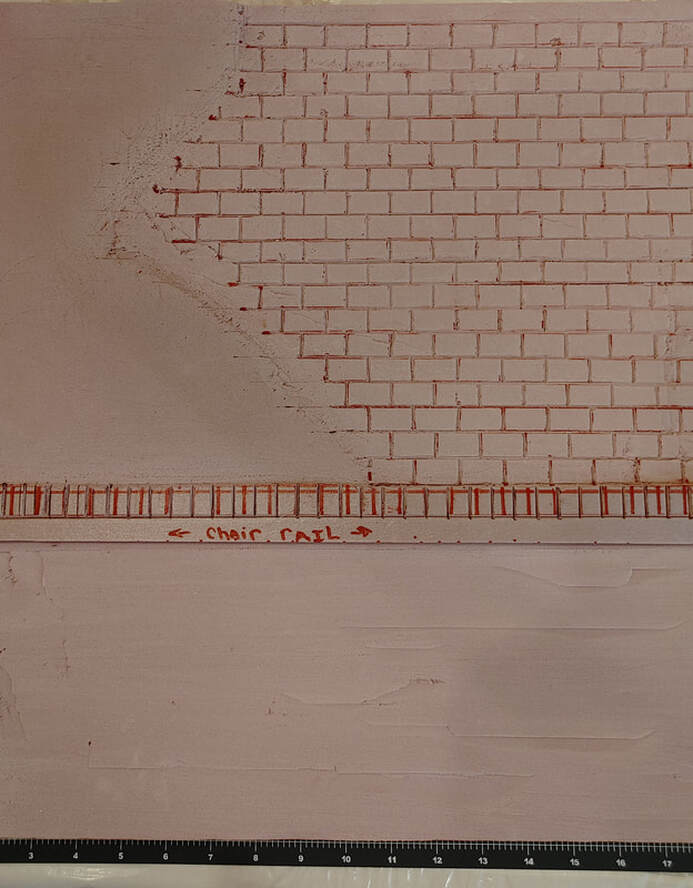
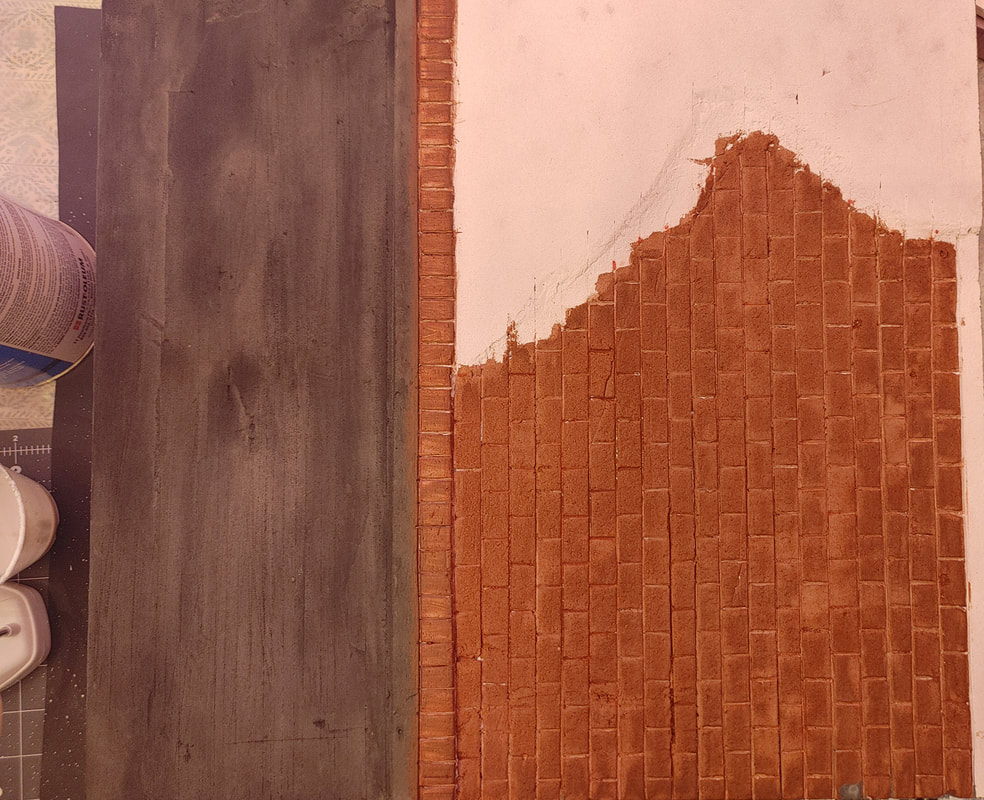
Below you see the foam after the areas have been cut away, sanded and then marked with bricks that are 1/2" by 1".
Below you see the foam after the areas have been cut away, sanded and then marked with bricks that are 1/2" by 1".
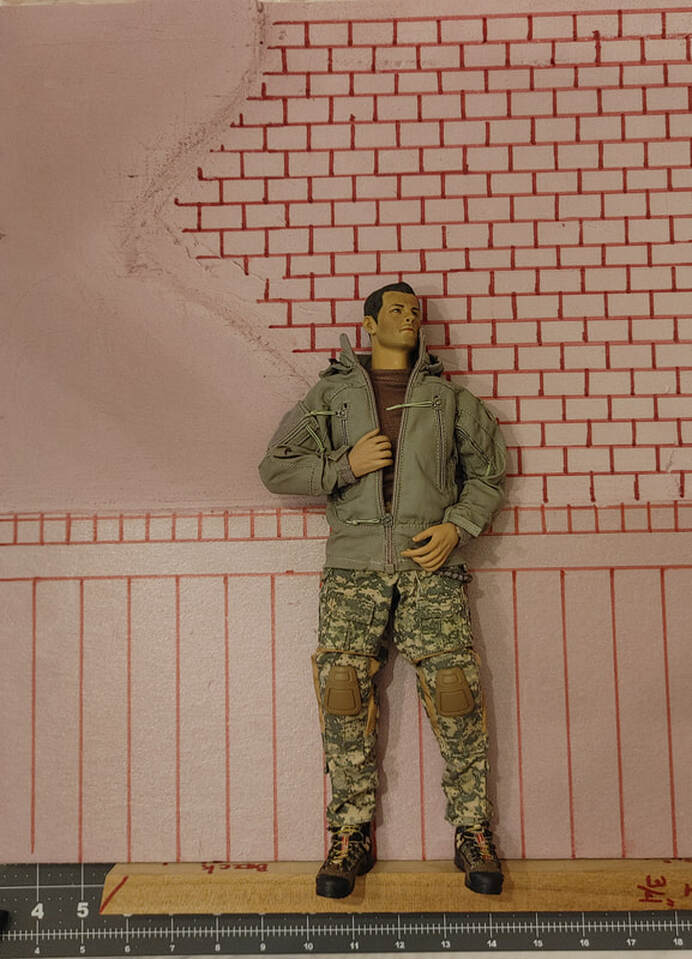
Here you can get an idea of the size of the wall in relation to a typical 12" figure.
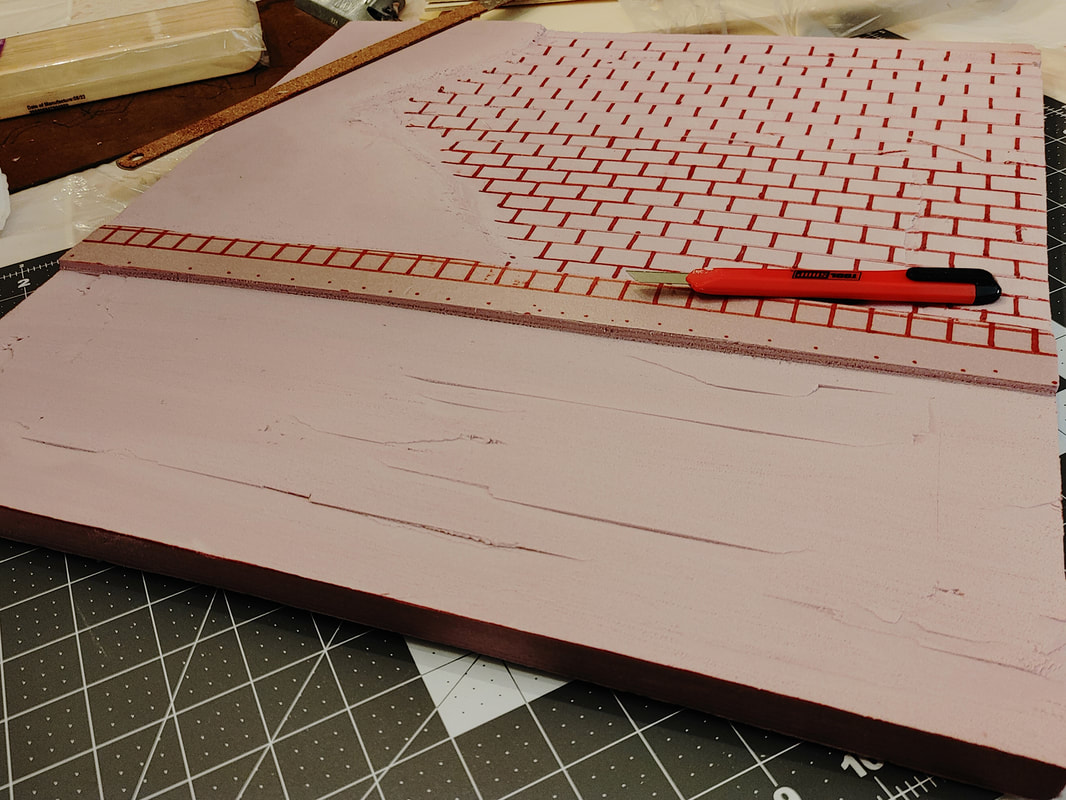
The next step is to create grout lines between the bricks. Scott does this with a razor blade and a straight edge, cutting between the bricks at 45 degree angles, creating a V shaped grove. I imagine this would have to be the most time consuming part of the project and would have to be done most carefully to avoid cutting too much.
Below, the grout lines have all been cut between the bricks and you can see how the plaster sits slightly higher. It should be noted that he has a row of bricks that sit perpendicular to the wall above what he has designated as a chair rail. These bricks are at the same level as the plaster, sticking out beyond the rest of the brick wall.
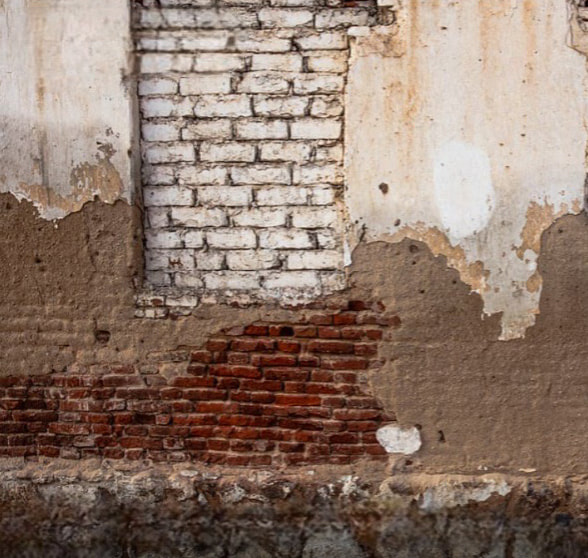
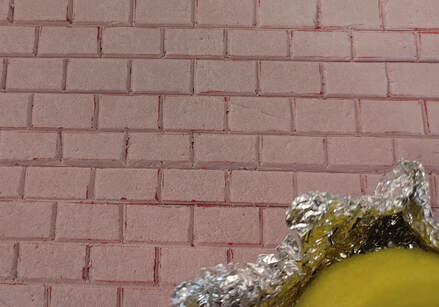
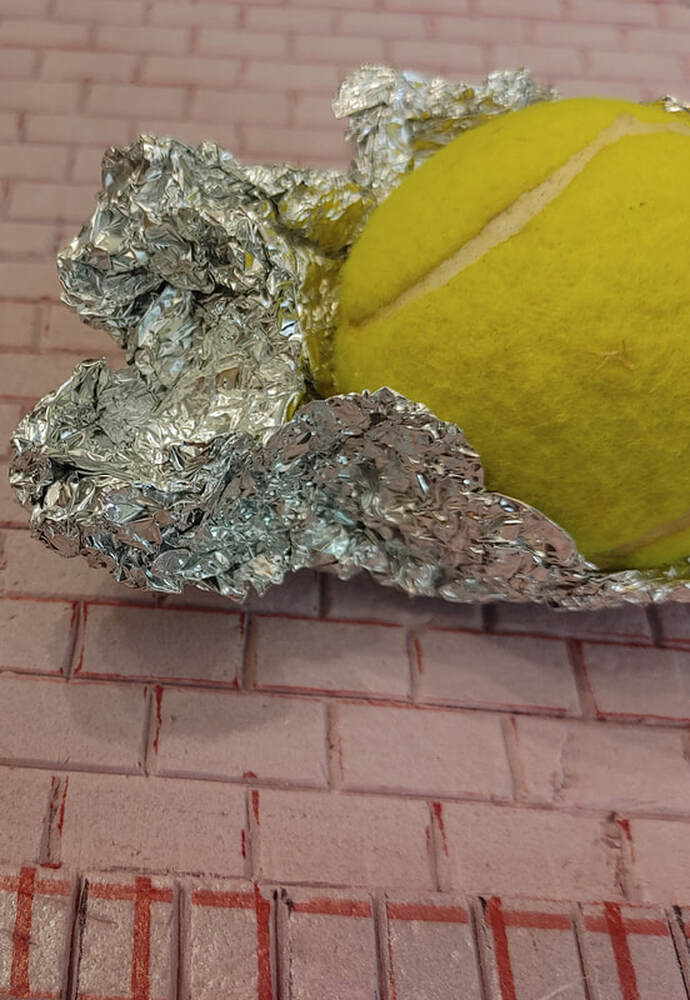
Below left, is a picture that Scott drew inspiration from. On the right and below, though he did not specifically tell me so, it appears that he uses a tennis ball wrapped in foil to go back over the bricks and create the sort of rough texture that we would expect to see in a brick wall. The value of this step can really be appreciated once the wall is painted and weathered.
|
|
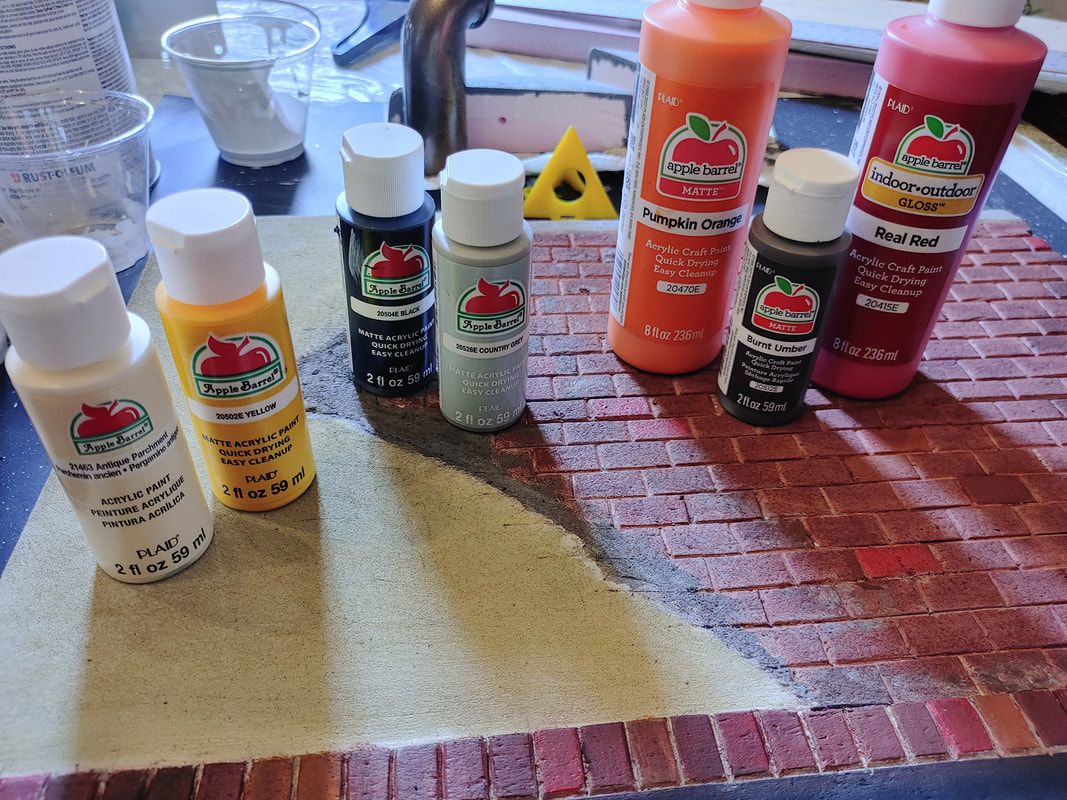
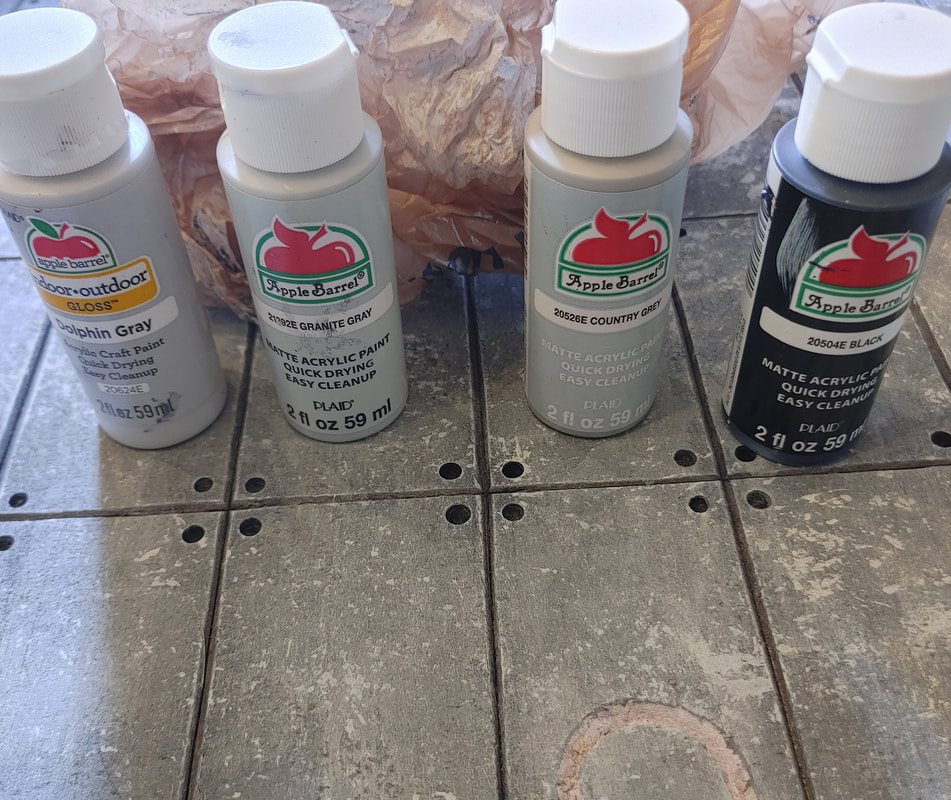
Scott primes the wall with a 50/50 mixture of water and latex primer before final painting. He then paints with acrylic brush paints which can be found at places like Hobby Lobby. Hobby Lobby's modeling section has suffered in the last couple of years, but they still have a really great selection of acrylic paints in the craft section.
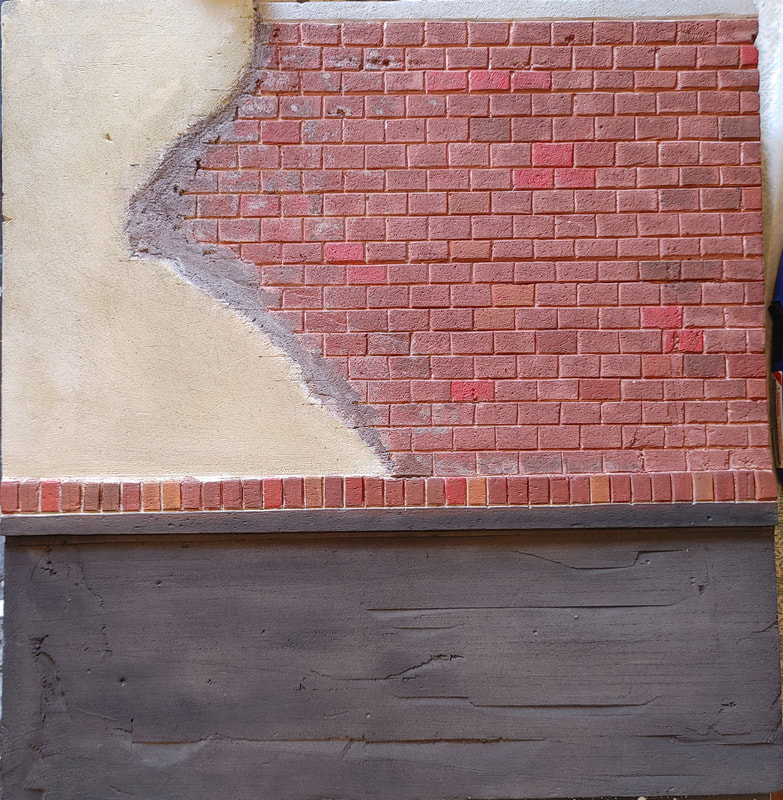
A closeup of the wall after painting and weathering - Note that he has used different colors on the bricks to create variety and greater realism. You can see some of the effect of the roughing up of the bricks in this shot as well.
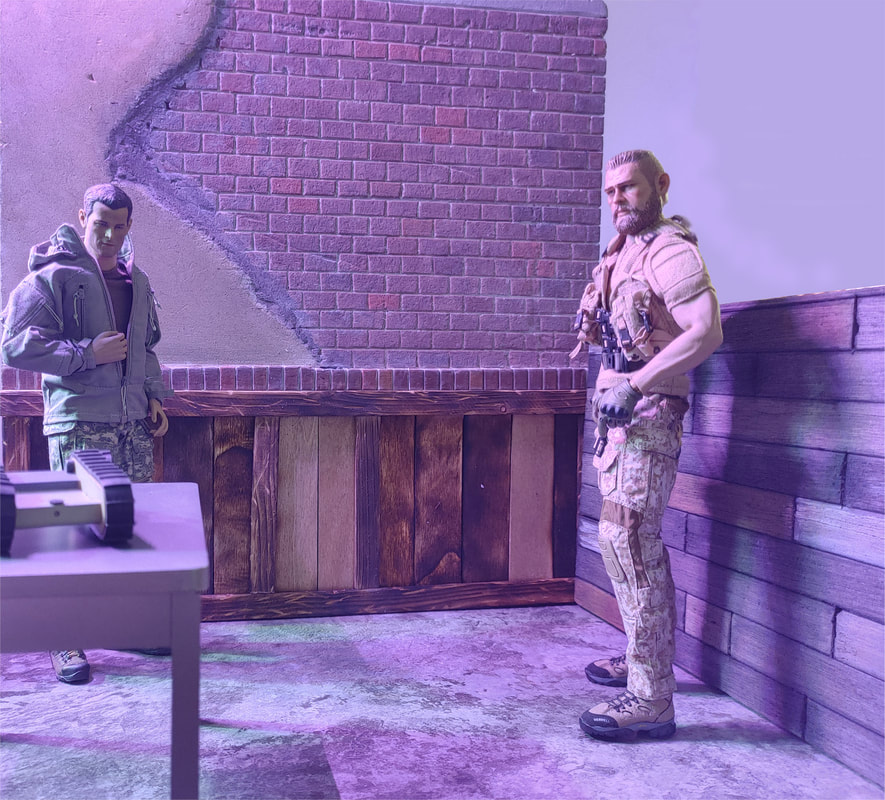
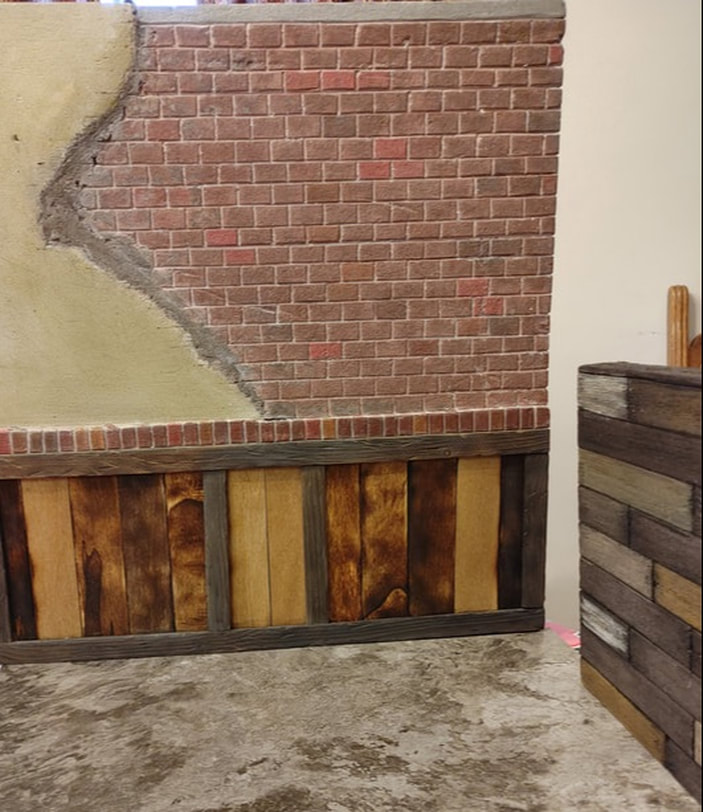
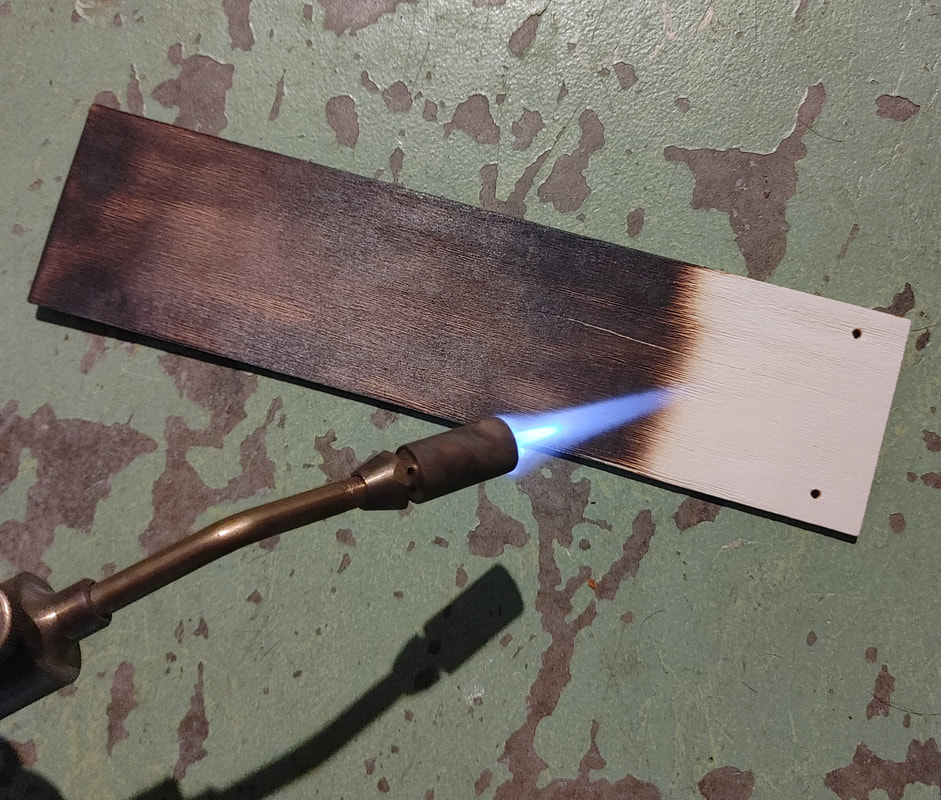
Here's the finished wall with the wood paneling below. Scott has quite a process for creating his wood pieces. He uses a wire wheel brush to create deeper wood grain detail. He then burns the wood surface as shown below before doing additional brushing. Finally he uses a thin gray wash on wood trim pieces. You've got to admit.... it looks great!
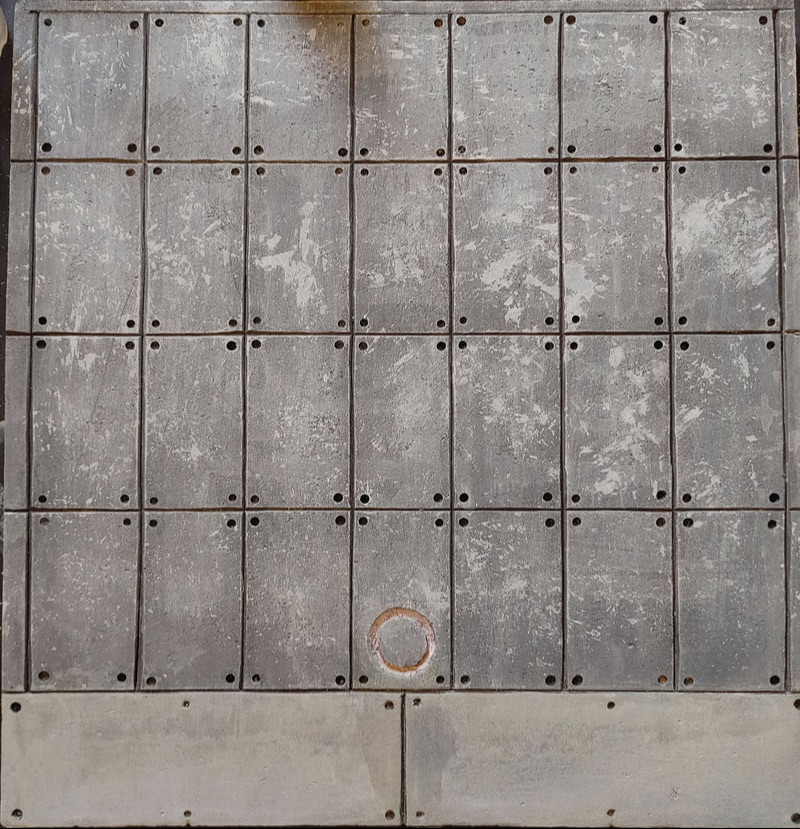
The opposite side of the wall was this concrete wall. I would imagine that this was a little bit easier to achieve than carving all those bricks, but the effect is no less impressive.
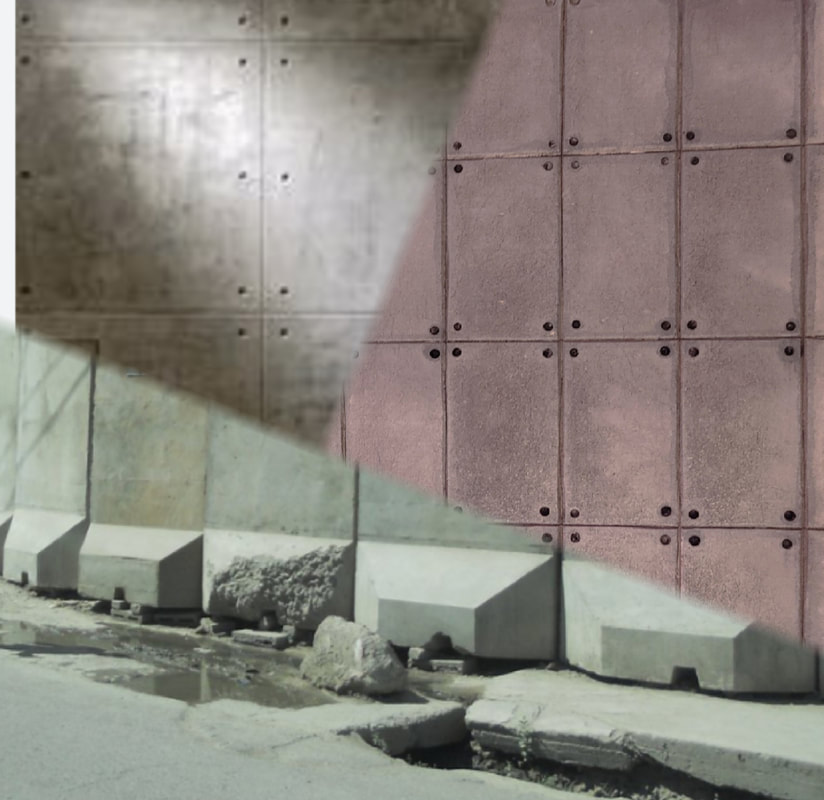
This shot is a montage of Scott's inspiration for this wall.
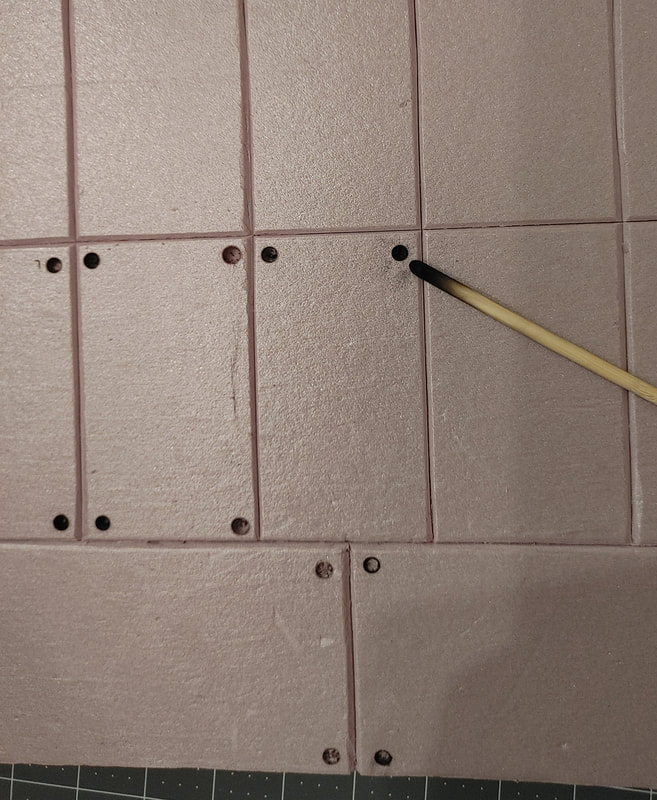
Below is the basic wall in progress; Scott has create the main lines of the concrete and has started on these little round circle things that are part of the wall design.
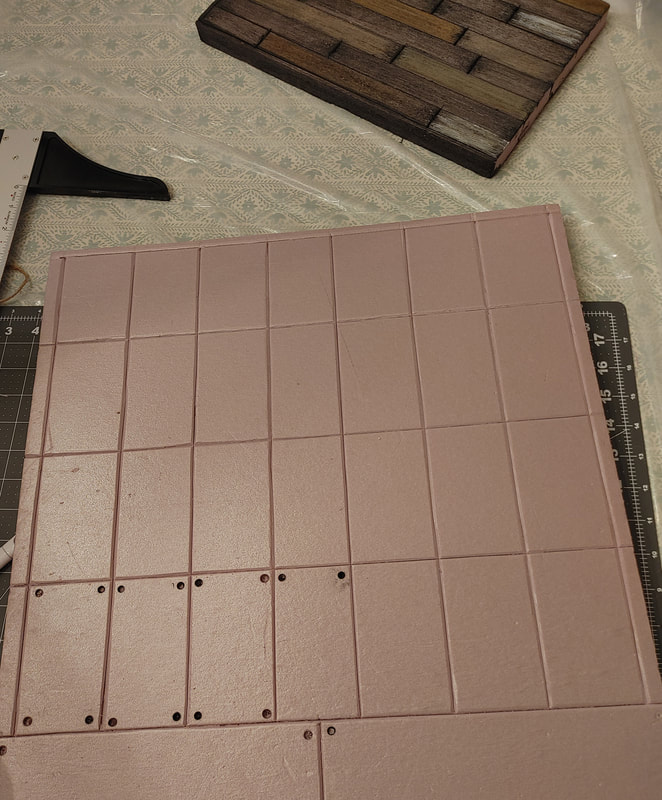
He created the circles by actually burning them into the foam. The squares of the concrete are 2 3/8" x 4" and the grooves were done in the same way as the brick side at 45 degree angles.
Once again, the finished wall is coated with a latex primer and then finished with a variety of acrylic paints. After the base paint, Scott does a wash of black and gray.
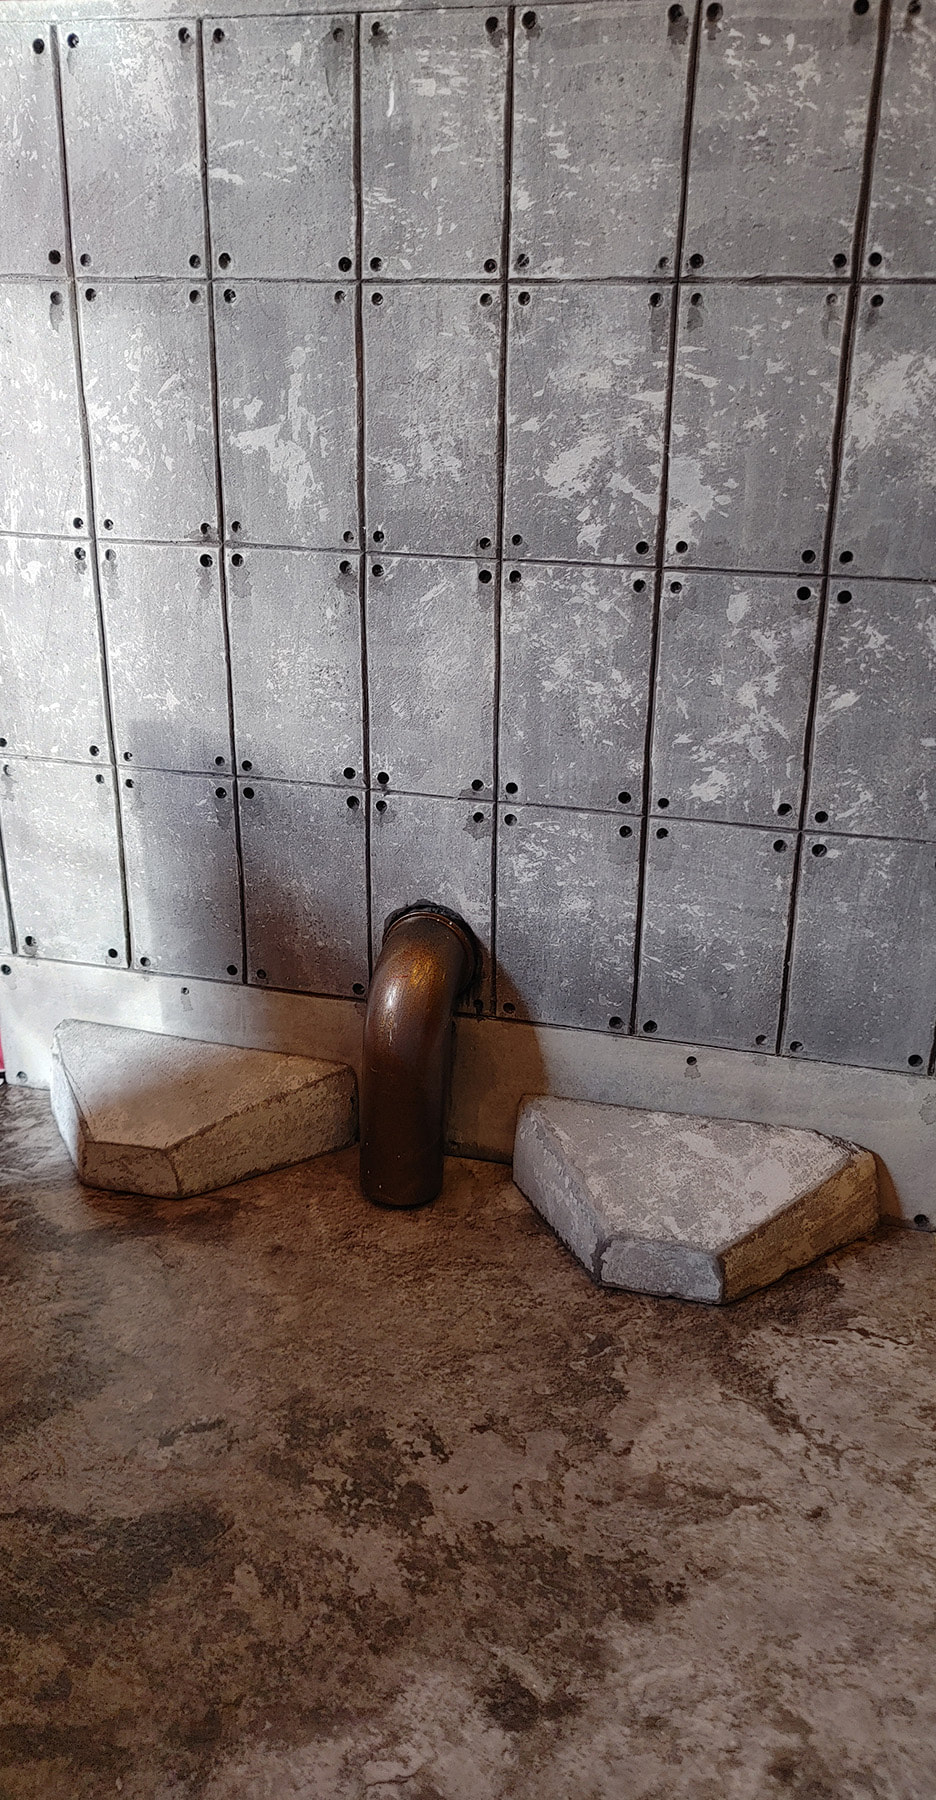
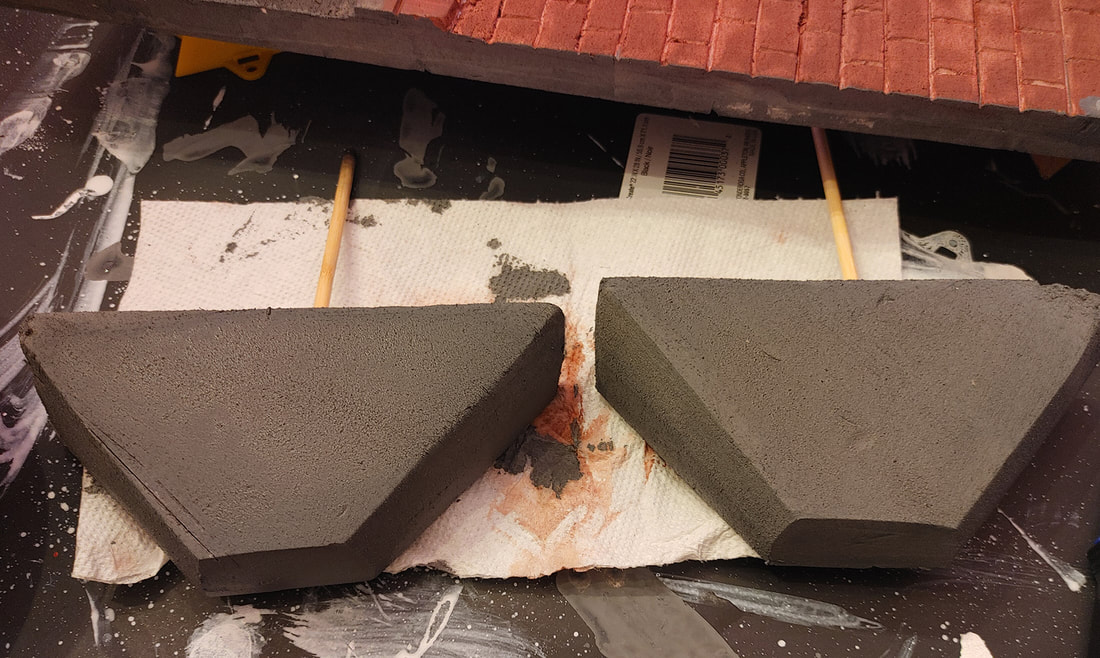
The concrete "footing" or whatever you would call it, is also made out of foam and adds a finishing touch to the final wall.
|
|
The pipe was a piece of PVC that Scott has painted with a metallic finish. Very, very cool. Scott also uses a system of magnets to hold things in place as part of his modular system of sets. I don't pretend to understand it all and it is likely a subject for the future as he continues to expand his series of portable walls. Thanks for sharing Scott!
|
