STAR TREK - THE FIRST GENERATION
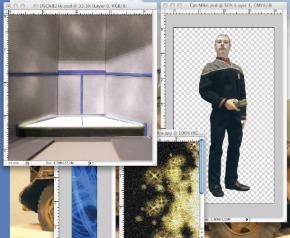
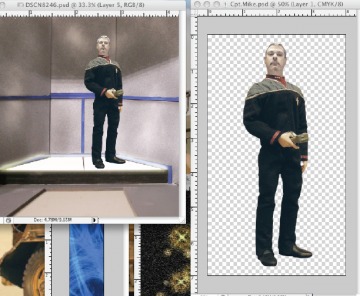
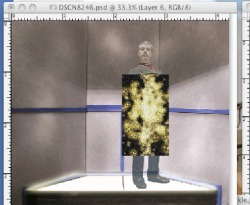
Here we have actually "drag and dropped" Captain Point Man onto the transporter picture. Beats using the turbo lift.
That's it for this evening, until next time, have a good one!
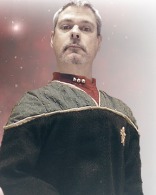
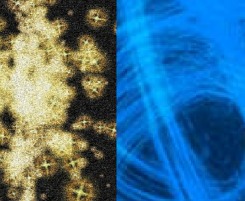
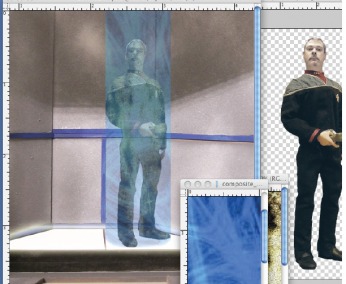
STAR TREK - THE FIRST GENERATIONCrew of the Bunker Hill boldly going where no man has gone before.  Hey Troopers, Point Man here. You know, the thing about Star Trek is that it gets a little old if all your Starfleet guys ever do is sit on the bridge. There is this little thing called AWAY MISSIONS, and you need to have them fairly regularly if you want to keep it interesting. That is going to require a shuttle pod or "beaming down" to the surface of the planet you want to explore. It is definitely cheaper to beam down, but that is going to require a little thing called SPECIAL EFFECTS. "Two to beam down Scotty." Beaming requires some sort of photo manipulation software (preferably one that uses layers) and it requires some SPARKLES and SWIRLS (like these).  I forget where I got these from, but if you want to try your own transporter effect, I will be glad to send them your way. The sparkles represent the breakdown of matter into an energy stream and the blue swirly stuff is the confinement beam that you always saw on the original Star Trek series. (By the way, does anyone know how that original confinement beam was created for the original series?)  Once you have your raw materials you are ready to get started. I am working in Photoshop for this effect. I start with a picture of the "transporter set" that I made out of wood and a picture of Captain Point Man. The picture of me has been "clipped". In other words we have created a hard line around the edge of the image with a pen tool that will allow us to lift only that image out of the page and place it in another image.  Here we have actually "drag and dropped" Captain Point Man onto the transporter picture. Beats using the turbo lift.  Next we drag our Sparkles image into the photo. It must first be resized so that it completely covers the figure. Then we can erase the parts that we do not want to keep (everything NOT on the figure) using an eraser tool with a soft feathered edge. I usually use the opacity tool to make this easier . When completed we can then use the opacity tool on both the sparkles and the figure to achieve a look of the transportation process. The result looks a lot like the picture below.  Finally, we add the image of the confinement beam and once again use the opacity tool to achieve a "see-through" effect. And hey, we are on our way. Now you may be wondering why I decided to torture you with this feature on Special Effects tonight. Well, it is really pretty simple, The Email UPDATE tomorrow is going to be on STAR TREK and I felt like doing a related subject tonight. If you have questions about this effect and others, or about Photoshop in general, feel free to ask. I am always happy to share what I have learned about this great program; it's not a lot, but you don't have to know a ton to have fun with it.
That's it for this evening, until next time, have a good one!
2 Comments
|
SSCC
|